
Enhancing the WM1110: DIY Battery Monitor Hack
Published by Vivian van Zyl in Meshtastic the 12/28/2024 at 03:11 pm

The WM1110 from Seeed is a versatile development board, but it has a notable limitation: it doesn’t display the actual battery voltage, only indicating "USB." This can be frustrating for users who want to monitor the battery's health accurately. In this blog post, we’ll explore a DIY modification using an INA219 DC current monitor to display true battery voltage readings. Let’s dive into the process of enhancing your WM1110 device.
Table of Contents
- Understanding the WM1110 Limitations
- Adding the INA219 DC Current Monitor
- Configuring the Meshtastic App
- Reading Voltage and Current Draw
- Viewing Power Metrics in the App
- Conclusion
- FAQs
Understanding the WM1110 Limitations
The WM1110 development board is equipped with several GPIO slots, allowing for various connections. However, one of the persistent issues is the inability to show the actual battery voltage. Users have reported that the battery lasts about 12 hours, but without voltage readings, it’s hard to gauge the remaining battery life accurately.
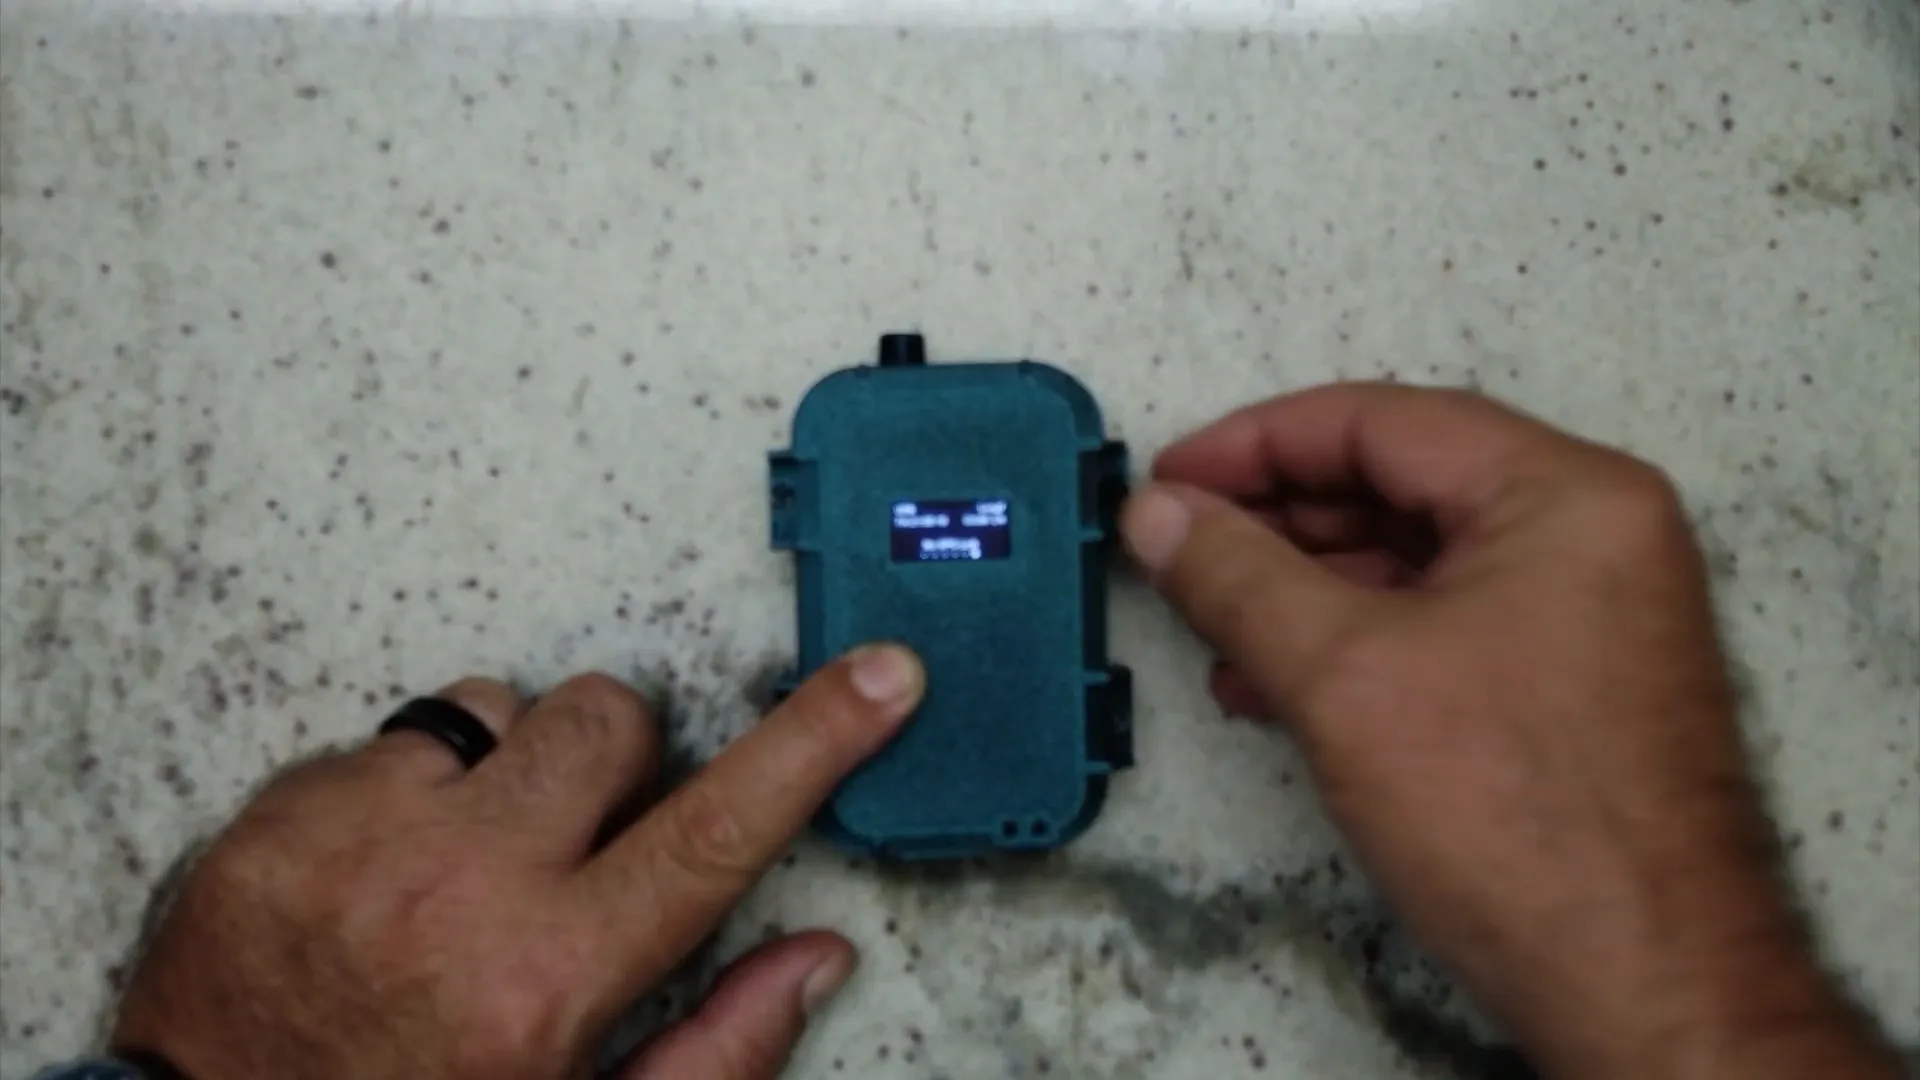
In the current setup, the board uses I2C for communication with a small monitor that displays limited information. The I2C bus is capable of connecting multiple devices as long as they have different addresses. This means there’s an opportunity to add additional sensors without interfering with existing components.
Adding the INA219 DC Current Monitor
To solve the battery voltage display issue, we will integrate the INA219, a DC current monitor that can report voltage levels accurately. The INA219 also communicates over the I2C bus, making it a perfect addition to the existing setup.
Here’s a brief overview of the steps involved in adding the INA219:
- Solder the INA219 onto the I2C bus of the WM1110.
- Connect the battery to the sensing pads of the INA219.
- Ensure both the INA219 and the existing monitor have different I2C addresses.
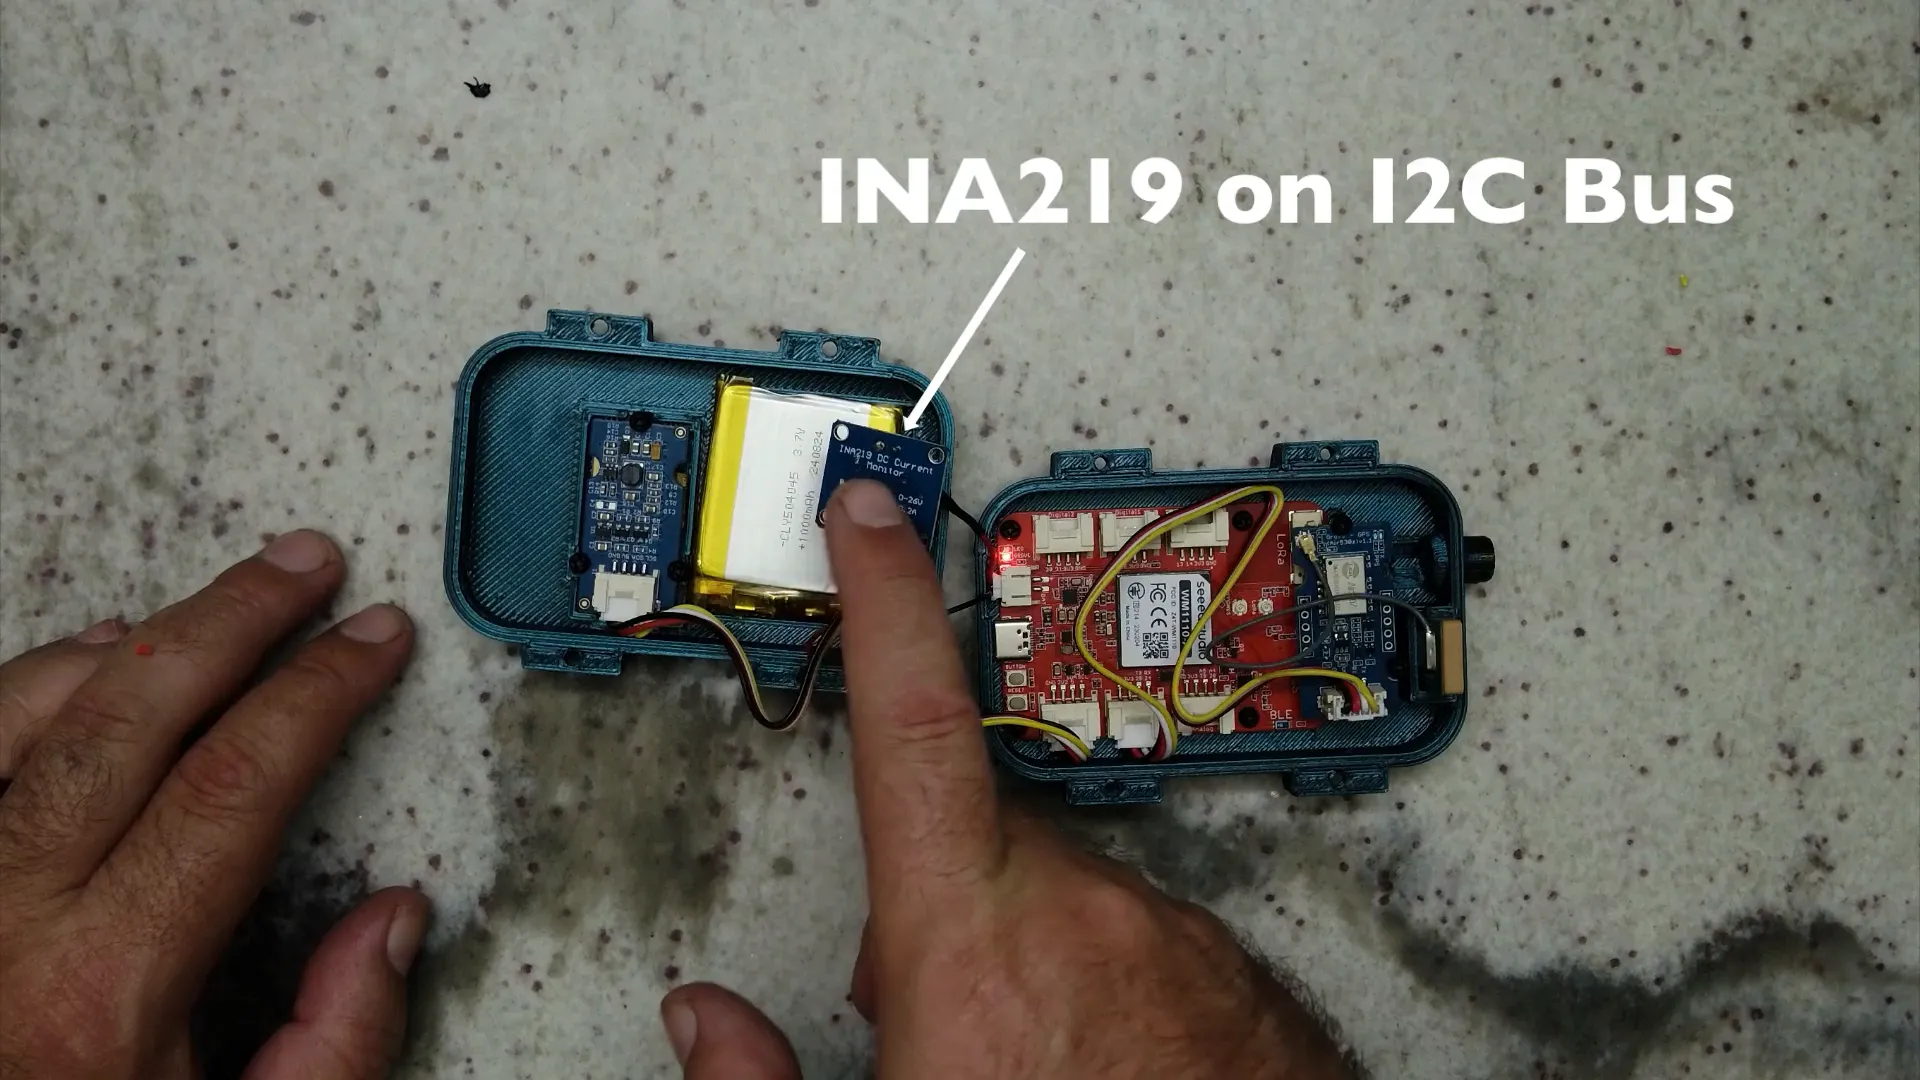
After completing the soldering, you will have two I2C devices: the INA219 and the monitor. With this setup, you can now read voltage levels directly from the battery.
Configuring the Meshtastic App
Once the hardware modifications are complete, the next step is to configure the Meshtastic app to recognize the new INA219 sensor. Here’s how to do it:
- Open the Meshtastic mobile app.
- Navigate to the "Radio Configuration" section.
- Go to "Telemetry" and enable the power metric module.
- Set the update intervals for how often you want the voltage and current readings to refresh.
- Ensure that the app is set to display this information on the screen.
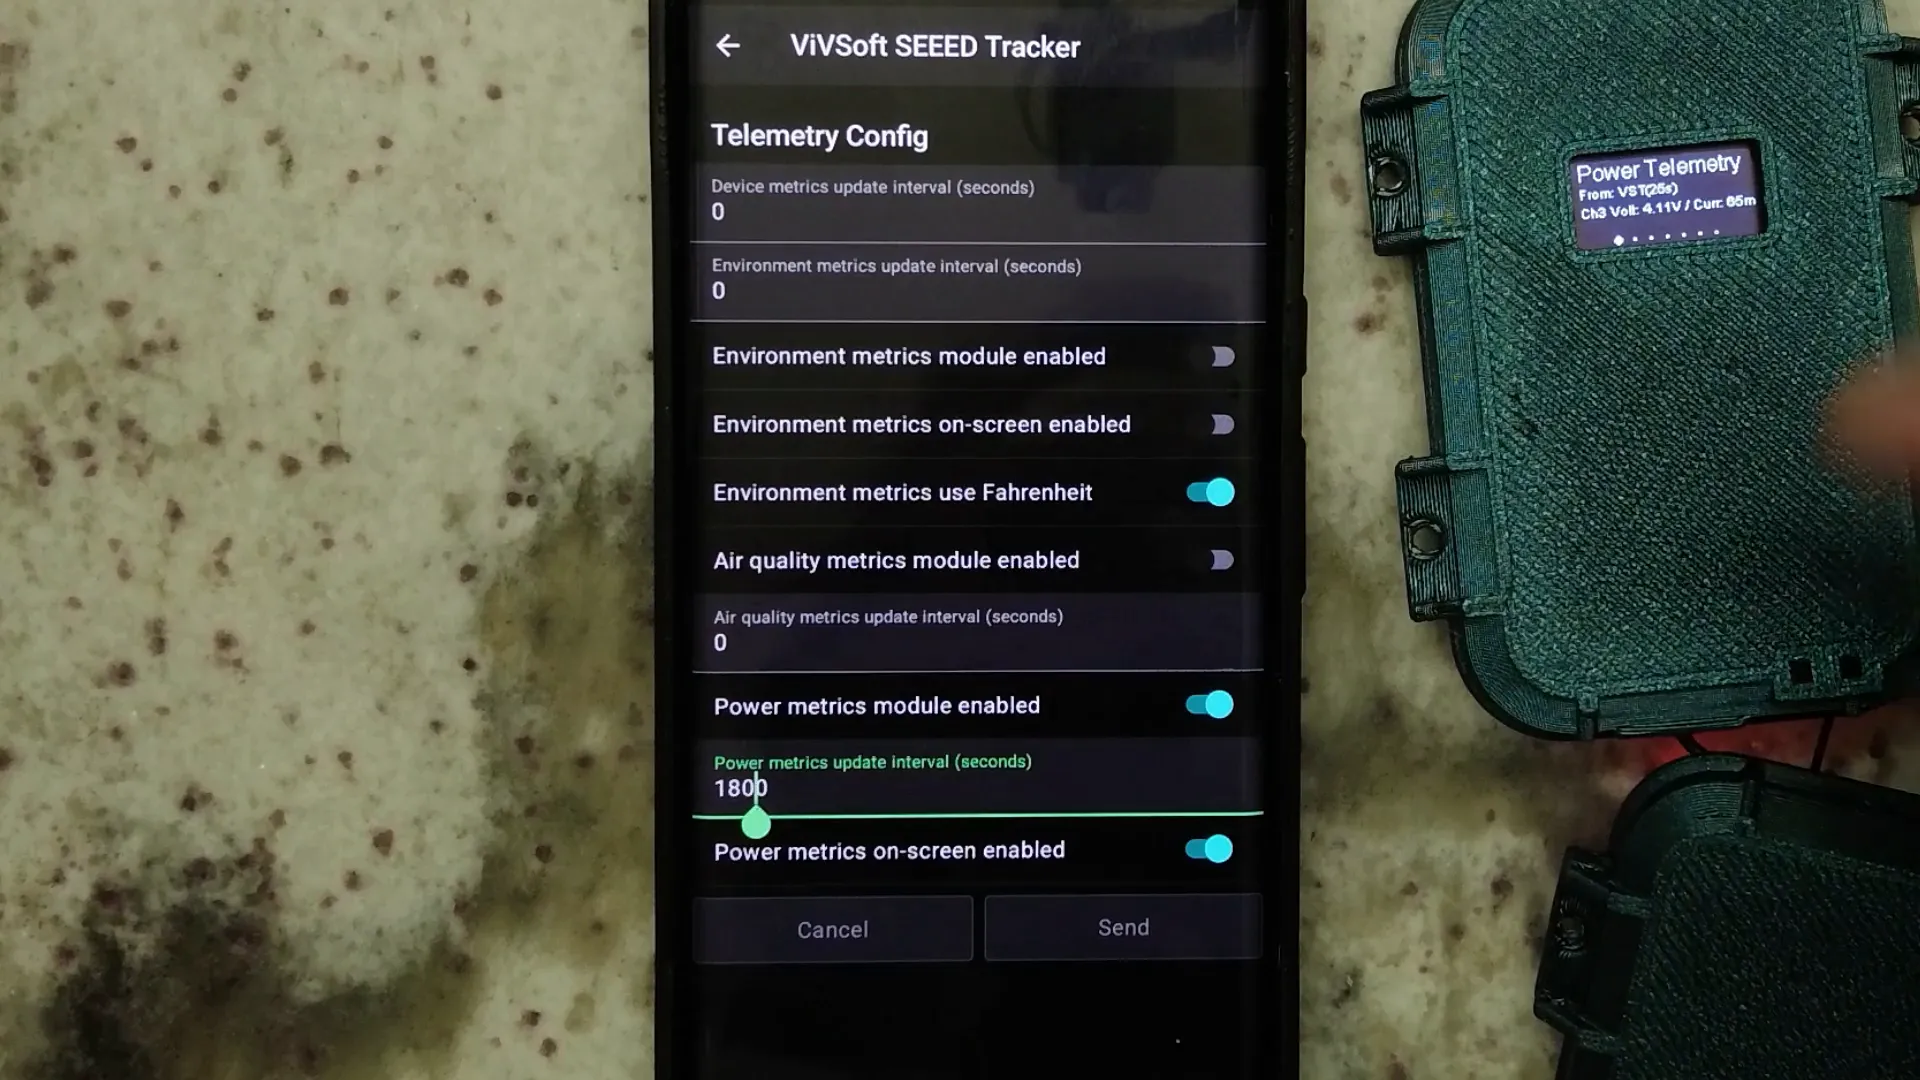
After enabling the power telemetry module, the app will automatically look for the INA219 on the I2C bus. This setup allows you to monitor both the voltage and current draw from the battery effectively.
Reading Voltage and Current Draw
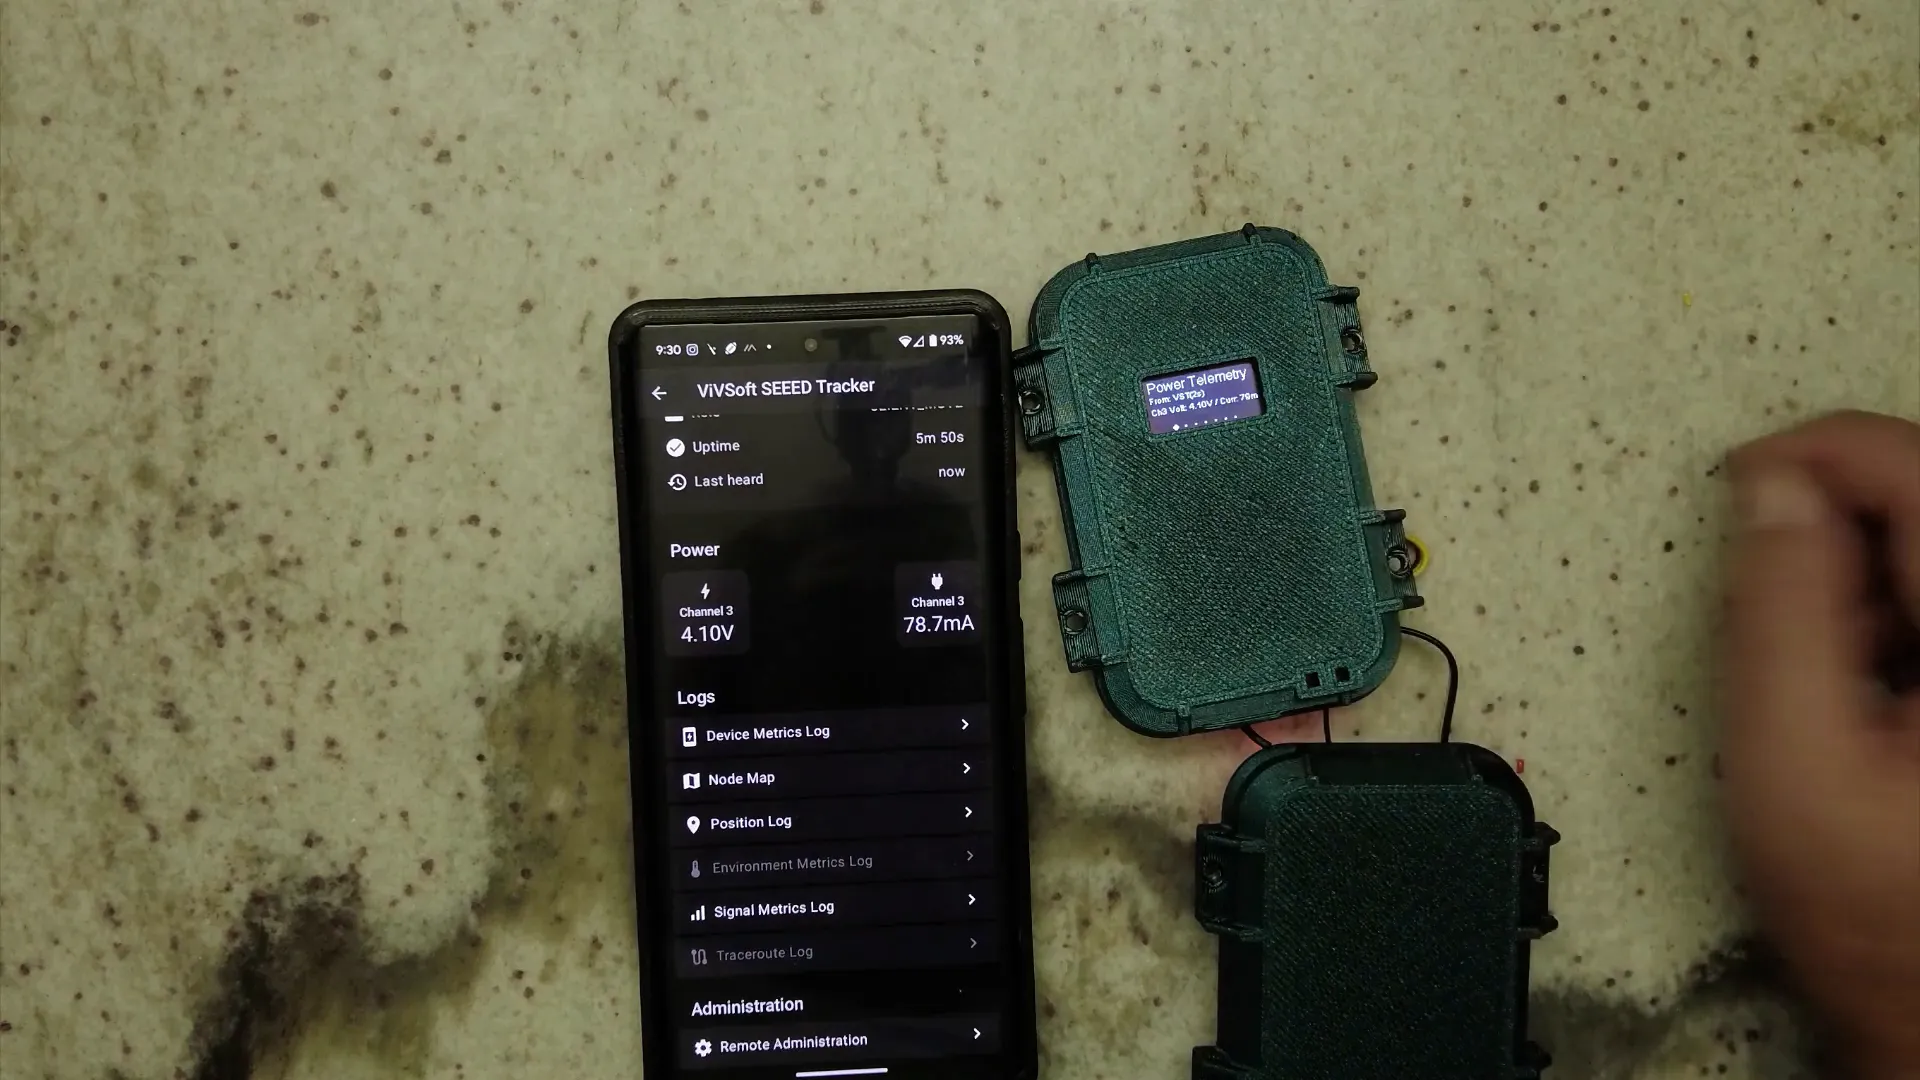
With everything set up, you can now see the actual battery voltage displayed on the monitor. For example, the INA219 can report a voltage of approximately 4.11 volts and a current draw of about 57 milliamps.
This information is crucial for understanding how much power your device is consuming and how much battery life remains. Users can now make informed decisions about when to recharge their devices, ensuring that they never get caught with a dead battery again.
Viewing Power Metrics in the App
In addition to the display on the device, you can also view power metrics within the Meshtastic app. While the app may initially show "0.0 volts" for the battery, navigating to the detailed view will reveal the actual voltage and current readings from the INA219. This feature enhances the usability of the WM1110 significantly.
For instance, after a few adjustments, I was able to see the voltage reading update in real-time, providing me with a clear view of my battery's health.
Conclusion
By adding the INA219 DC current monitor to your WM1110 device, you gain the ability to accurately monitor battery voltage and current draw. This DIY modification not only enhances the functionality of your device but also equips you with vital information for better power management.
Whether you’re an IoT enthusiast or just looking to improve your device’s performance, this simple addition can make a significant difference. Now, you can confidently use your WM1110, knowing exactly when it’s time to recharge.
FAQs
What tools do I need to perform this modification?
You will need a soldering iron, solder, wires, and the INA219 module. Having a multimeter can also help in verifying connections.
Can I use other current monitors instead of the INA219?
Yes, as long as the alternative monitor supports I2C communication and has a compatible voltage reading capability, it can be integrated similarly.
Will this modification void my warranty?
Modifying the hardware may void the warranty of your WM1110, so proceed with caution and consider the risks involved.
What is the maximum current the INA219 can measure?
The INA219 can measure currents up to 3.2A, making it suitable for most battery-powered applications.
For those interested in exploring more about the WM1110 and other LoRa mesh devices, check out this link for affordable, long-range solutions.